Ready to achieve that sun-kissed glow without the sun? Getting a beautifully even, natural-looking tan with self-tanner is absolutely doable! With a few simple steps and the right products, you’ll be well on your way to mastering an even self-tan that looks just like the real deal. Whether you’re new to self-tanners or have had a few streaky encounters, this guide will give you the confidence to apply self-tanner flawlessly every time. Let’s dive into how to prep, apply, and maintain your tan for a lasting glow!
Step 1: Prep Your Skin for Perfection
Get Everything Else Done First
Before applying self-tanner, make sure to complete any beauty treatments like waxing, shaving, or even manicures. These treatments can sometimes strip or disturb a fresh self-tan. So do everything else first, and then let your skin focus on your gorgeous, new glow.
Exfoliate for an Even Base
Dry patches on your skin can cause self-tanner to darken unevenly. To avoid this, gently exfoliate with a scrub, focusing on areas prone to dryness—like knees, elbows, ankles, and heels. Choose an oil-free exfoliator so there’s no residue left on your skin; oils can create a barrier, leading to uneven tan results. Exfoliating removes dead skin cells, giving your tan a fresh canvas to stick to, resulting in a smooth, streak-free finish.
Dry Off and Spot-Moisturize
Once you’ve showered and exfoliated, dry off completely. Self-tanner sticks best to completely dry skin. For any extra-dry spots (like your nostrils, knees, elbows, and ankles), apply a light layer of moisturizer to prevent the tanner from clinging too darkly in those areas. This will keep your tan looking balanced and natural.
Step 2: Choose the Right Self-Tanner
Finding a self-tanner that fits your skin type and goals is essential. Here are a few tips:
- Mousses are quick-drying and easy to blend, making them great for beginners – our customer favourite No.5 Tan Mousse would be ideal.
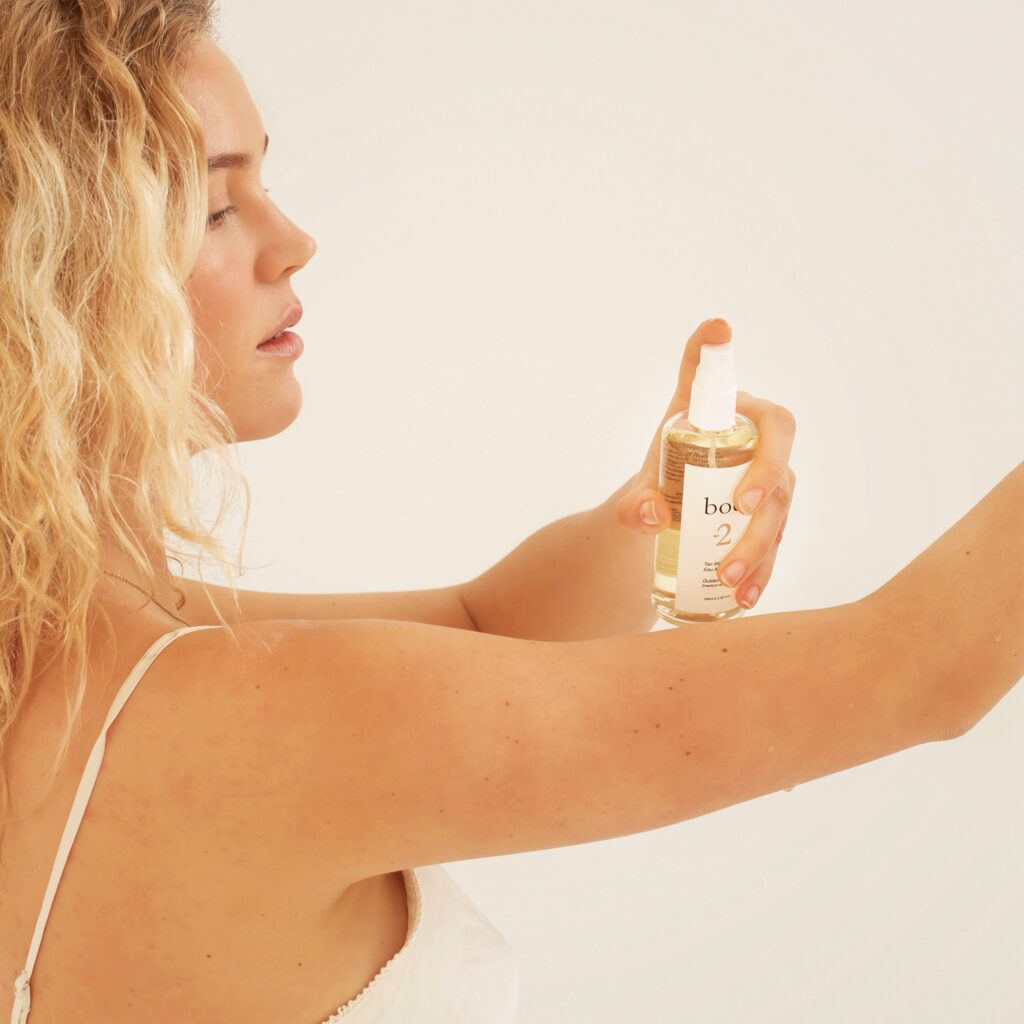
- Tan sprays like Boë’s No.2 Tan Water are ideal for those hard-to-reach spots or for achieving an even tan line.
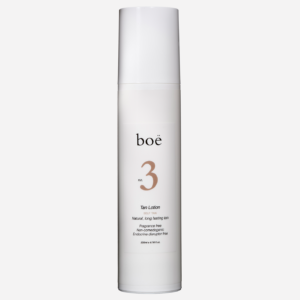
- Lotions provide added hydration, perfect for dry or sensitive skin types.
- Tan drops such as Boë’s No.1 Tan Drops let you mix self-tanner with your favorite moisturizer for a gradual, customizable tan.
Boë’s products are designed for all types of tanning needs, whether you want a subtle daily glow or a deeper tan for special occasions.

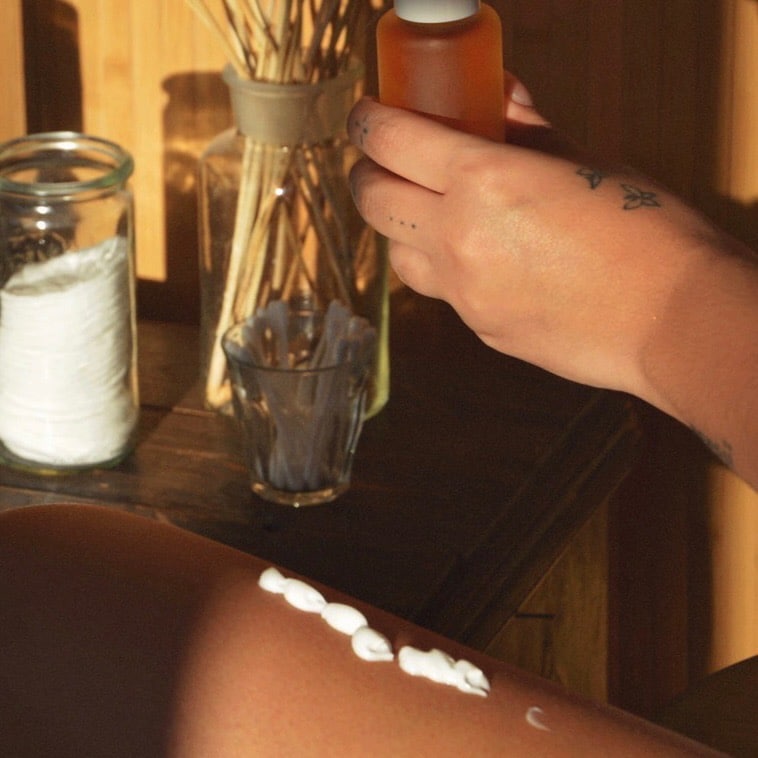
One way of applying the No.1 Tan Drops on your legs.
Step 3: Application Tips for a Streak-Free Finish
Face First
Starting with the face can be easier, and it allows you to apply the product with your hands (just remember to wash them afterward). Apply the self-tanner evenly across your face, including under the eyes, eyelids, around your ears, neck, and down to your chest. Mixing Boë Tan Drops No.1 with your moisturizer is a gentle way to achieve a subtle glow if you’re nervous about full coverage.
Start at the Bottom
When tanning your body, it’s easiest to start from the legs and work your way up. Begin with your lower legs and work upwards, leaving your hands for last. Use any leftover tanner from your legs to lightly tan your feet, avoiding streaks or blotchy spots.
For your upper body, apply self-tanner to your stomach, chest, and back, blending well. Don’t forget your neck and shoulders! Boë’s No.2 Tan Water spray is perfect for your back; simply spritz and blend to avoid tan lines. Move up your arms, ending at the wrists, and then finish with the backs of your hands by blending lightly for a natural look.
Spot-Moisturize for Perfection
After you’ve applied self-tanner, wait a few minutes, then add a small amount of moisturizer on areas like wrists, ankles, and elbows to blend and prevent any dark patches. This final touch will ensure a seamless finish.
Step 4: Quick Fixes for Any Mistakes
Even with the best intentions, mistakes happen! Keep wipes on hand to fix any areas that need adjustment right after application. If you notice streaks after the tan develops, use a gentle exfoliator on wet skin in the shower to blend the color. For lighter streaks, simply reapply to even out the tan, blending with a small amount of non-oil-based moisturizer for a perfect finish.
Mitt or Hands?
Using your hands allows for more control, though mitts can also help prevent any staining. Ultimately, go with what feels comfortable and gives you the best result.
Step 5: Set It, But Don’t Forget It
Once you’re finished applying, give your self-tanner enough time to dry completely. Boë products dry quickly and won’t transfer, but avoid activities like showering or sweating immediately after to give your tan the best chance to develop evenly.
With these easy steps, you’ll be able to apply self-tanner evenly and confidently, achieving a beautifully natural glow that lasts. Enjoy your new tan, and remember, you’ve got this—no streaks, no stress, just a perfect sunless tan!
Want more tips for creating that natural summer glow and how to apply self tan? Visit our How To-section for everything you need to achieve the perfect sunless tan.
YOU MIGHT BE INTERESTED IN…
Sources:


